Settings
Settings
The Settings tab lets you manage all the application settings.
Users, groups, exercises
User management
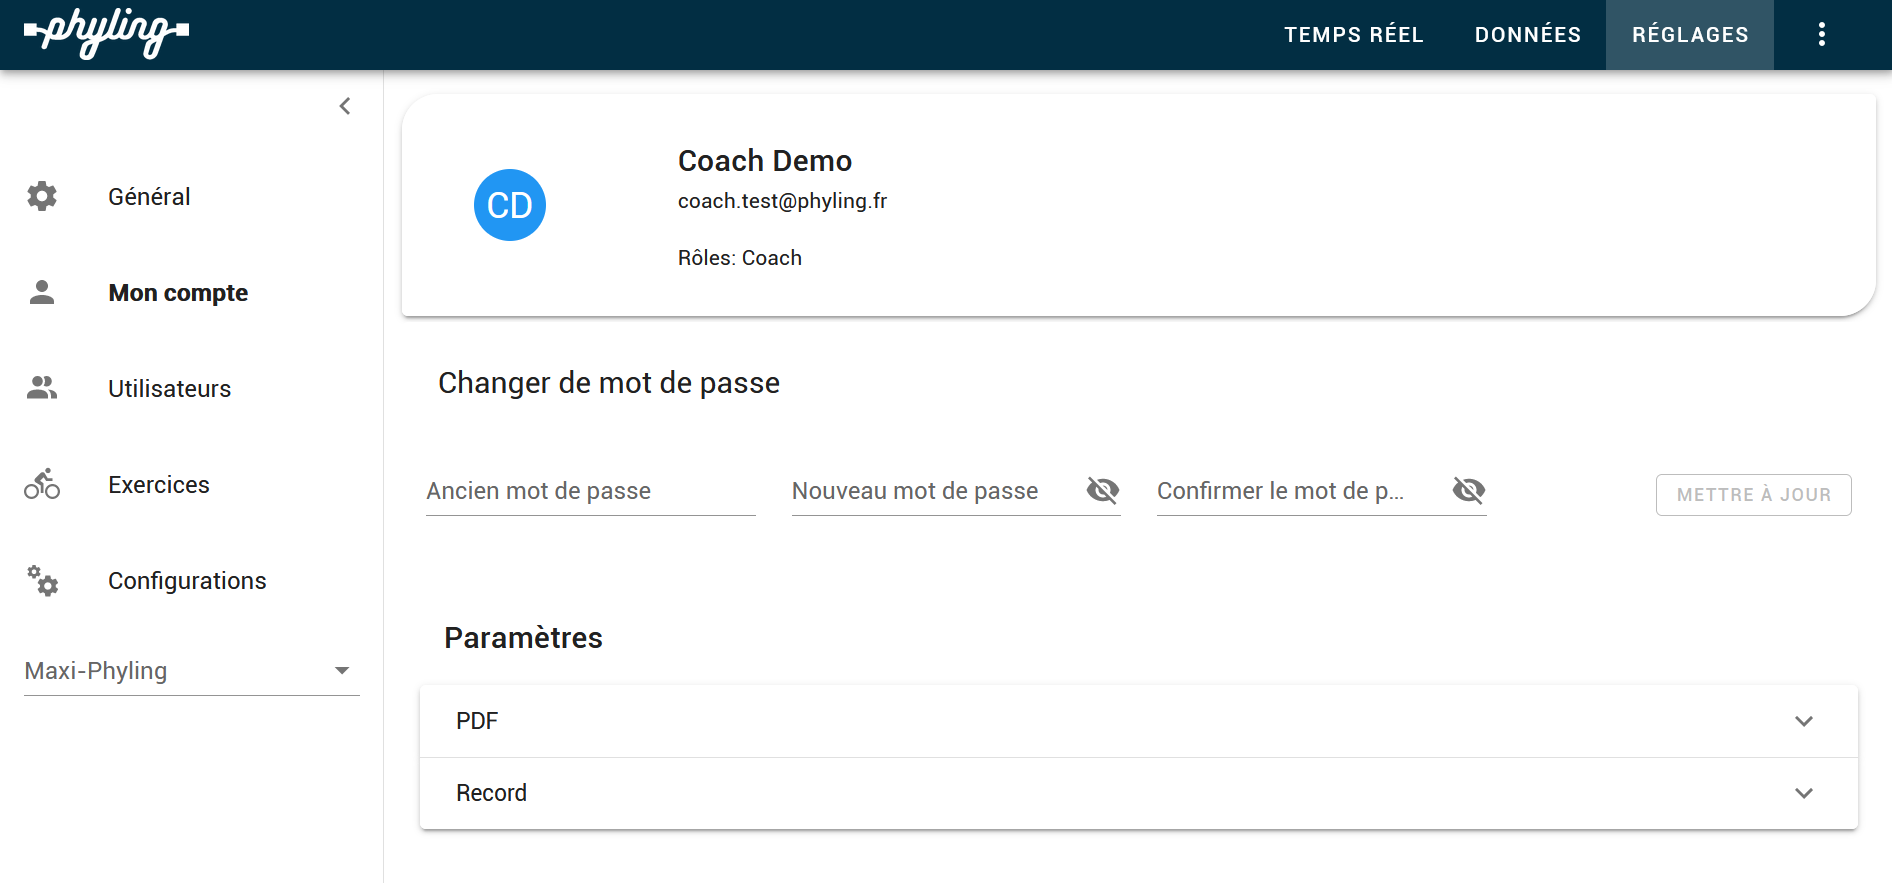
In the Users section, you can create, edit or delete users. Click the + button at the top right to create a new user. There are 3 types of users:
- an
Athleteonly has access to their own data, - a
Coachhas access to all the data of their groups, - a
Managercan create groups, manage users and view all the data in the application.
Notes
- Changing group: Recordings are associated independently with a group and with one or more athletes. So, for example, for a recording associated with athlete A of the test group, if I change athlete A's group, the recording remains associated with the test group (and with athlete A, who is no longer in the test group).
- Deleting a user: If a recording is associated with several users and you delete one of them, the recording remains associated with the remaining users. If a recording is associated with a single user and you delete that user, the recording goes back to the "New data" table.
- Deactivating a user: the "Active" setting, available when you create or edit a user, lets you manage active and inactive users. An inactive user can no longer log in to the application and no longer appears in the list of athletes that can be associated with a recording. However, they remain associated with the recordings made before their deactivation.
Group management
In the Groups section, you can create, edit or delete user groups. Click the + button at the top right to create a new group. Users are then added to a group in the Users section.
Exercise management
In the Exercises section, you can create, edit or delete exercises for a given group. Click the + button at the top right to create a new exercise.
Pairing a Maxi-Phyling with a Hub
Note
Normally, Phyling has already paired the Maxi-Phyling with your Hub for you.
Warning
You must be a Manager in the application to perform these actions.
Step 1: Maxi-Phyling configuration
The Maxi-Phyling must be configured to connect to the Hub. To do so, switch the Maxi-Phyling to Hotspot mode (long press on both the ON/OFF and REC buttons when powering on). Connect to the Wifi network created by the Maxi-Phyling, then go to the page http://192.168.1.42 and check that the Hub's network is in the list of Wifi networks. If not, add it and update.
Step 2: Hub configuration
The Maxi-Phyling must be added to the Hub. In the application, go to the Settings / Phyling Sensors section and check that the number of the Maxi-Phyling to pair is in the list. If it is not, click the + button at the top right to add it. You then need to enter the Maxi-Phyling number and password. If you do not know the password, contact the Phyling team.
Maxi-Phyling configuration
All the configuration parameters of a Maxi-Phyling are available from the Real time tab.
Database update
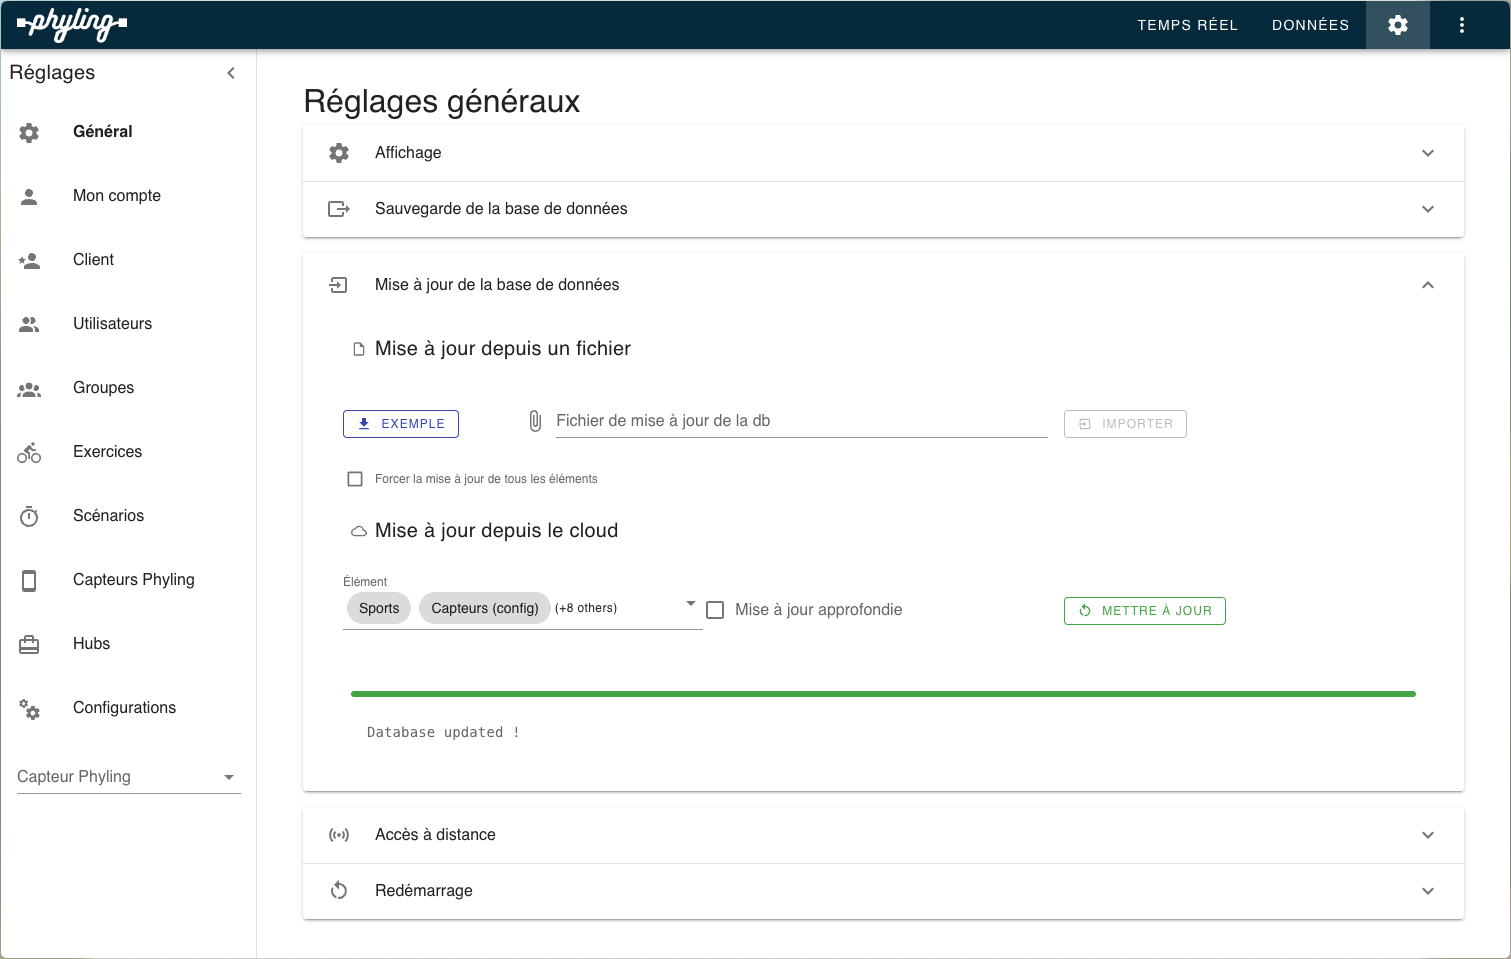
Updating your Hub's database is useful when you receive a new Mini-Phyling or Maxi-Phyling and want to connect it to your Hub. For users of the cloud application, it also lets you retrieve the new groups, users, etc. created from the cloud.
To update the application:
- Connect the Hub to the internet using an RJ45 cable.
- Go to Settings -> General -> Database update.
- In the "Update from the cloud" section, click the "Update" button.