Mobile app
Mobile app
The Phyling mobile app connects directly to your Mini-Phyling and Nano-Phyling, to the phone's own sensors (GPS, IMU) and to Bluetooth heart rate straps or power meters. It records, displays your data and calibrates your sensors, fully offline if needed. Signed in to your Phyling account, it sends the real-time stream and the recordings to app.phyling.fr.



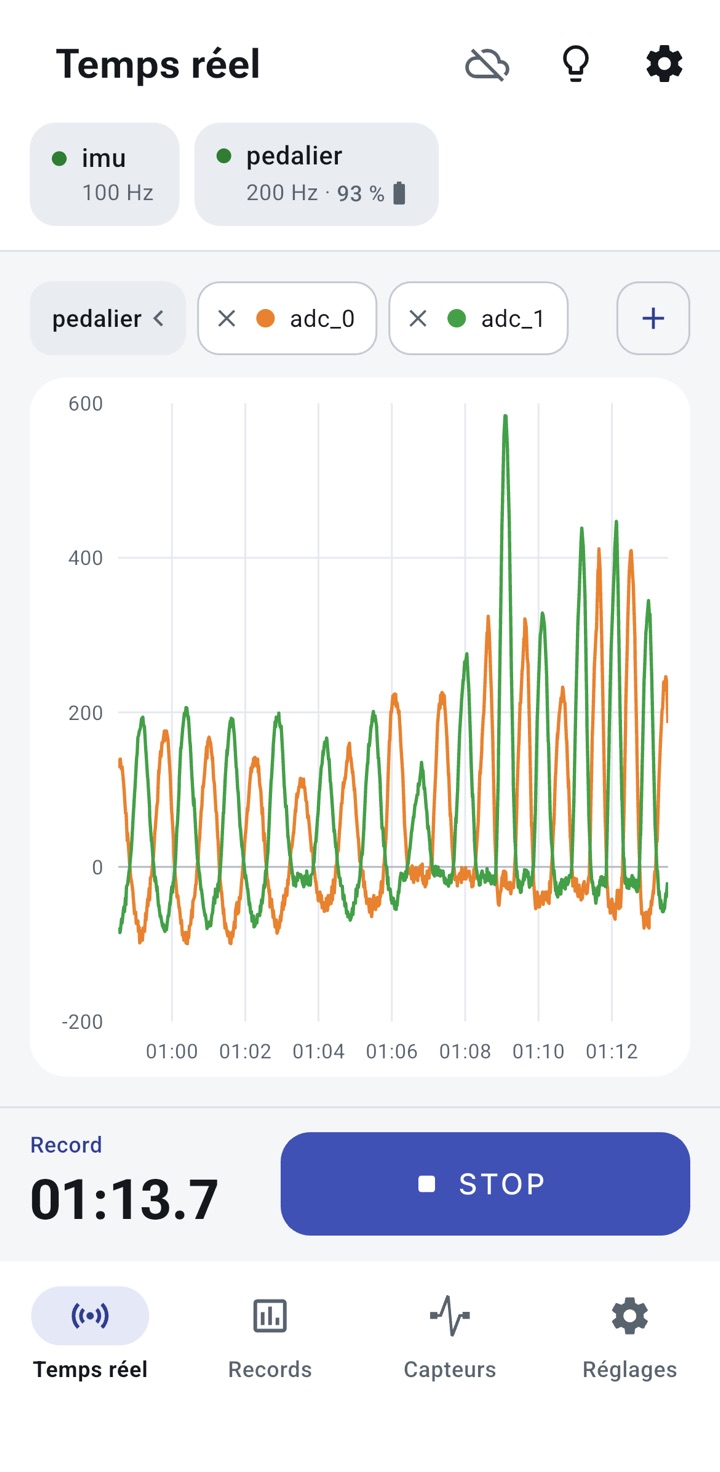
The app has 4 tabs:
- Live: sensor selection, live view, starting and stopping recordings
- Records: your recordings, to view, export or send to the server
- Sensors: your saved Mini and Nano, their settings and their calibrations
- Settings: Phyling account, theme, language, units
Start a recording
- In the Live tab, add your sensors with the + button (see Add a sensor).
- Check the live charts. Pick the displayed data with the labels above the chart, and add more with +.
- Tap START.
- Tap STOP to finish. The End of the record window lets you add a comment and, if you are signed in to your account, choose the group, the athletes and the exercise. Validate saves the record, Discard deletes it.
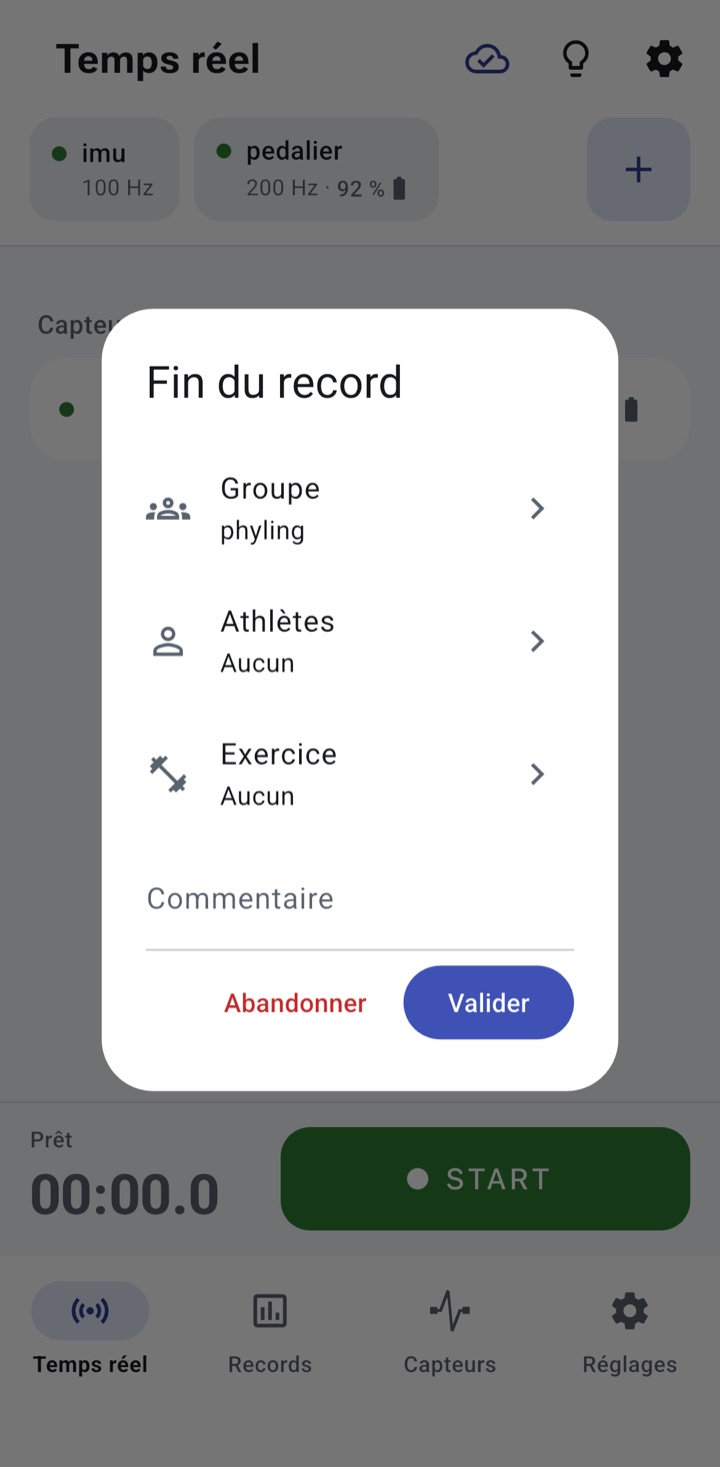
Locked phone
The recording goes on when the phone is locked or the app goes to the background, but the phone's system may stop it. It normally stays active as soon as the configuration has a Bluetooth sensor (Mini, Nano, heart rate, power) or the phone's GPS. Otherwise, turn on Keep the screen on: the light bulb at the top of the Live tab, or the option in the Settings.
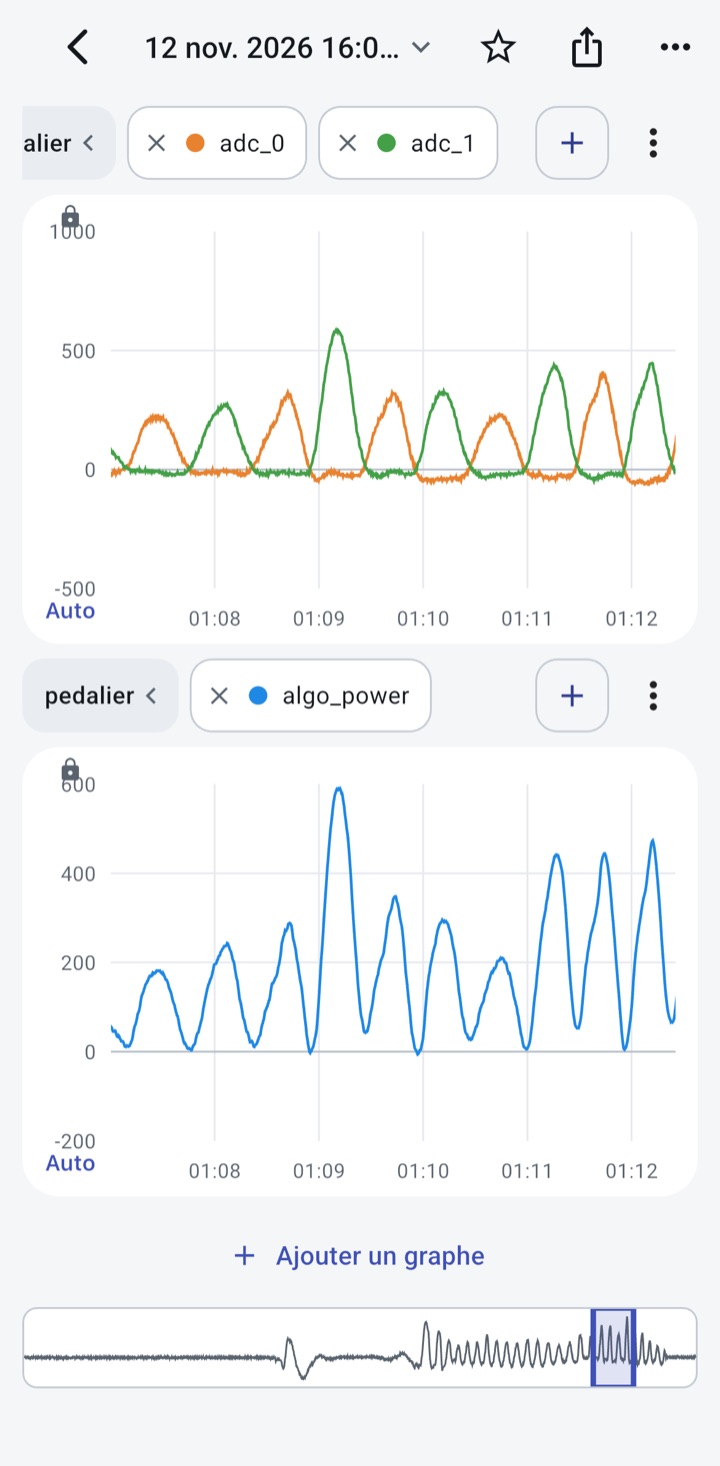
Your recordings appear in the Records tab. Open one to view it: pinch to zoom, drag to move, and use the bottom bar to browse the whole recording. From a record, you can also add it to your favorites and export it as CSV (decoded data) or raw (.phy).
Add a sensor
In the Live tab, the + button offers three kinds of sensors:
- Phyling sensor: a Mini-Phyling or a Nano-Phyling. Sensors you have already used are listed directly; for a new sensor, switch it on near the phone and tap Search for a new sensor.
- Other sensors: Bluetooth heart rate strap or power meter.
- Phone sensor: the phone's GPS or IMU.
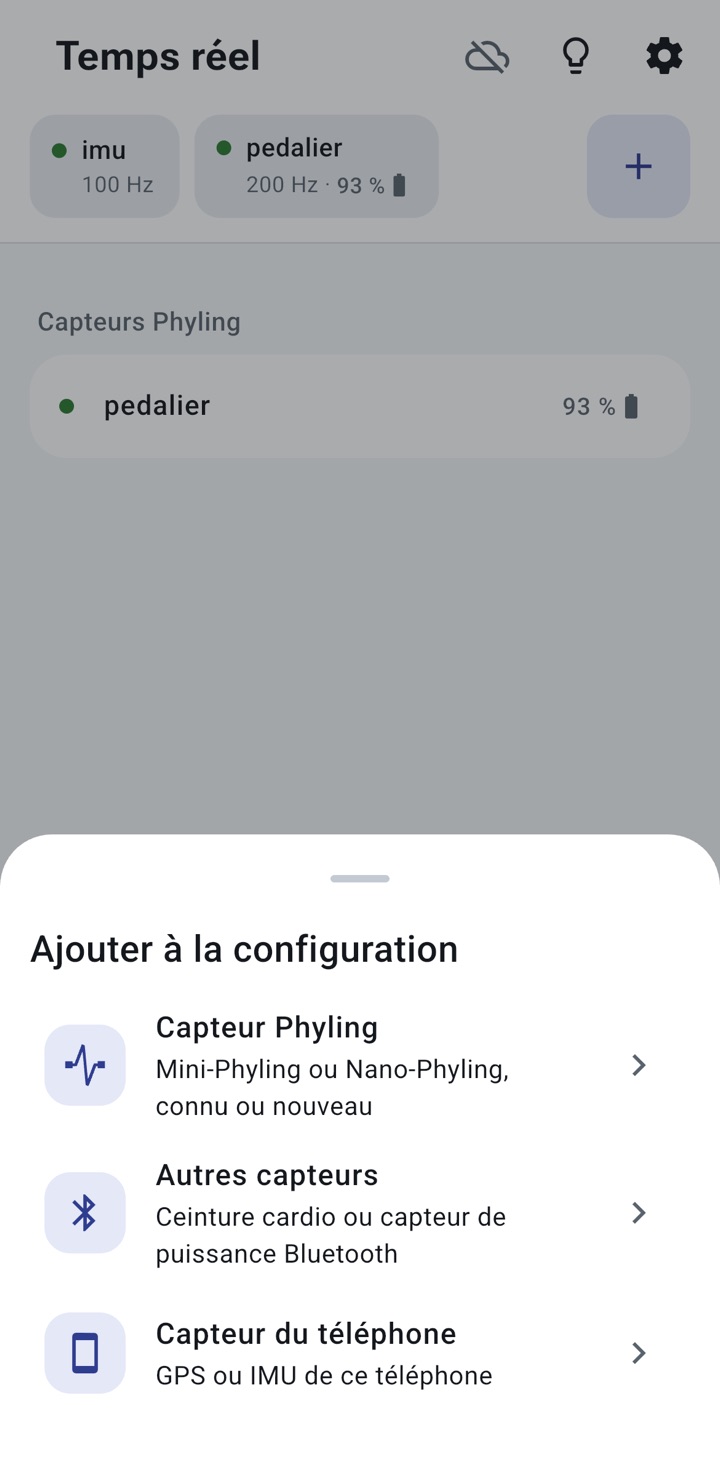
The added sensors show at the top of the tab, with their state (green dot when connected), their rate and their battery. Tap one to change its rate, open its page or remove it from the configuration.
Each Mini or Nano you add is saved in the Sensors tab: you can rename it, see its battery and version, set up a Nano (rate, data sent) or delete it.
Calibrate a sensor
Open the Sensors tab, tap your sensor and pick a calibration in the Calibration section. The sensor must be connected, and no calibration is possible during a recording.
| Calibration | Sensors | When to use it |
|---|---|---|
| Tare | All Mini and Nano | Zero the chosen channels, sensor at rest |
| Gyroscope | Sensors with an IMU | Correct the gyroscope drift, sensor still |
| Accelerometer and gyroscope | Sensors with an IMU | Full IMU calibration, in 6 still positions |
| General | Force sensors | Tare then known masses |
| Verification | Force sensors | Check the calibration with a known mass, without changing it |
| Full calibration | Crankset | Tare, rotation direction, magnet and start angle |
| 3-axis pedal tare | pi3d pedals | Zero the pedal forces, gyroscope and angle |
Each calibration guides you step by step, with the sensor's live values. At the end, the result is stored in the sensor: a Maxi-Phyling finds it too.
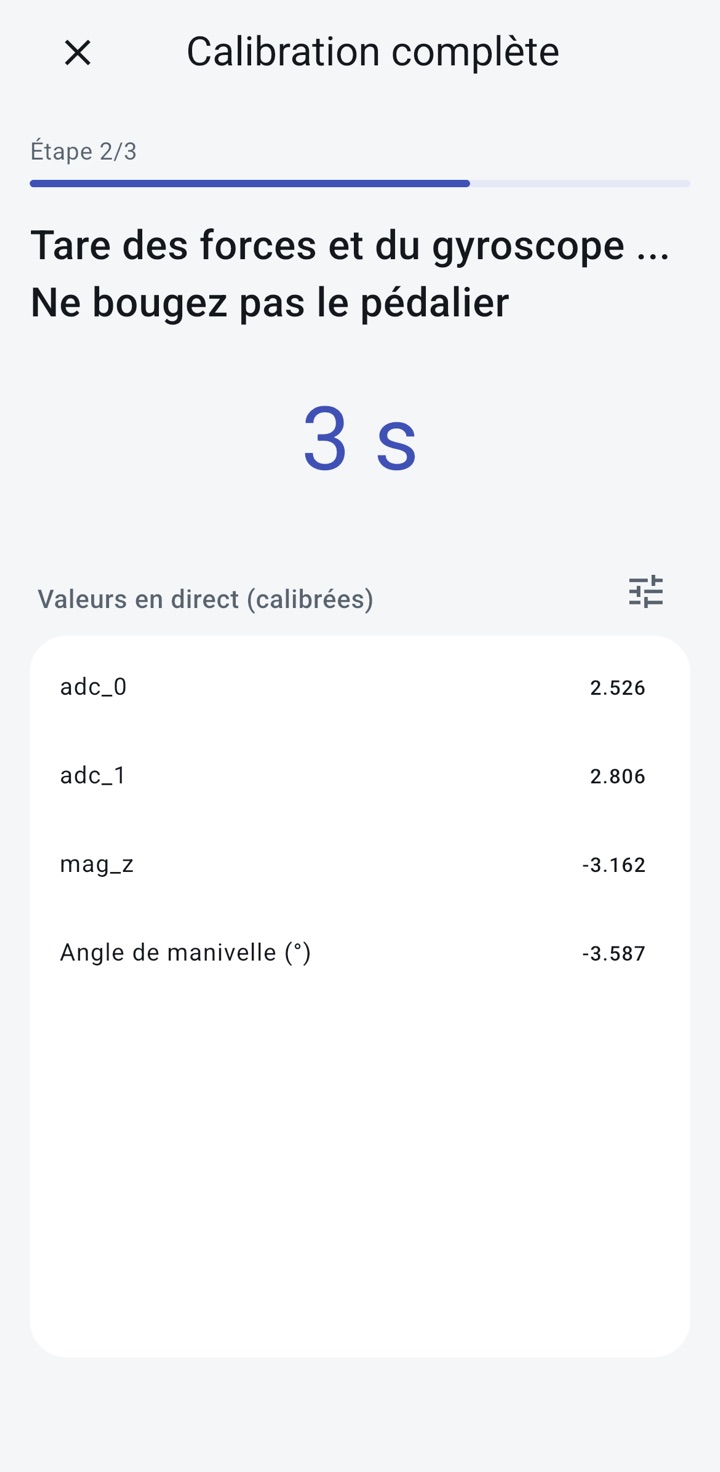
Tare
Leave the sensor at rest, choose the channels to zero and start the measurement. Do not touch the sensor during the countdown.
General calibration
- Install the sensor without any mass and tap Next: the app runs the tare.
- For each requested mass, install it, tap Next and do not move during the measurement.
- The app computes the calibration and shows the result.
If it fails (sensor moved, invalid regression), check the masses and start again. To simply check an existing calibration, use Verification.
Crankset
A crankset's page has a Crankset section:
- Tare: quick tare on board the sensor, cranks vertical and still.
- Full calibration: bike upright, rear wheel on the ground, right crank up. The app runs the tare, then asks you to pedal 4 turns forward.
- Crank length: to enter in mm.
pi3d pedals
A pi3d pedal's page has a Left pedal (pi3d) or Right pedal (pi3d) section with the 3-axis pedal tare:
- Place the crankarm horizontally forward and tap Next.
- Forces tare (10 s): do not touch the pedal.
- With the crankarm still horizontally forward, hold the pedal horizontally and tap Next.
- Angle tare (5 s): do not move the pedal.
Tare each pedal separately.
Use the app with app.phyling.fr
Log in
In the Settings tab, Account section, tap Log in and use your usual Phyling account. Logging in happens in the phone's browser, then you are taken back to the app automatically.
See the phone in real time
In the Live tab, tap the cloud icon then Server connection. Once Online, the phone shows as a device (Mobile-XXXX) in the Real time tab of app.phyling.fr, with its live data. From the web app, you can also change its name, group, athletes and sport, and start or stop a recording.
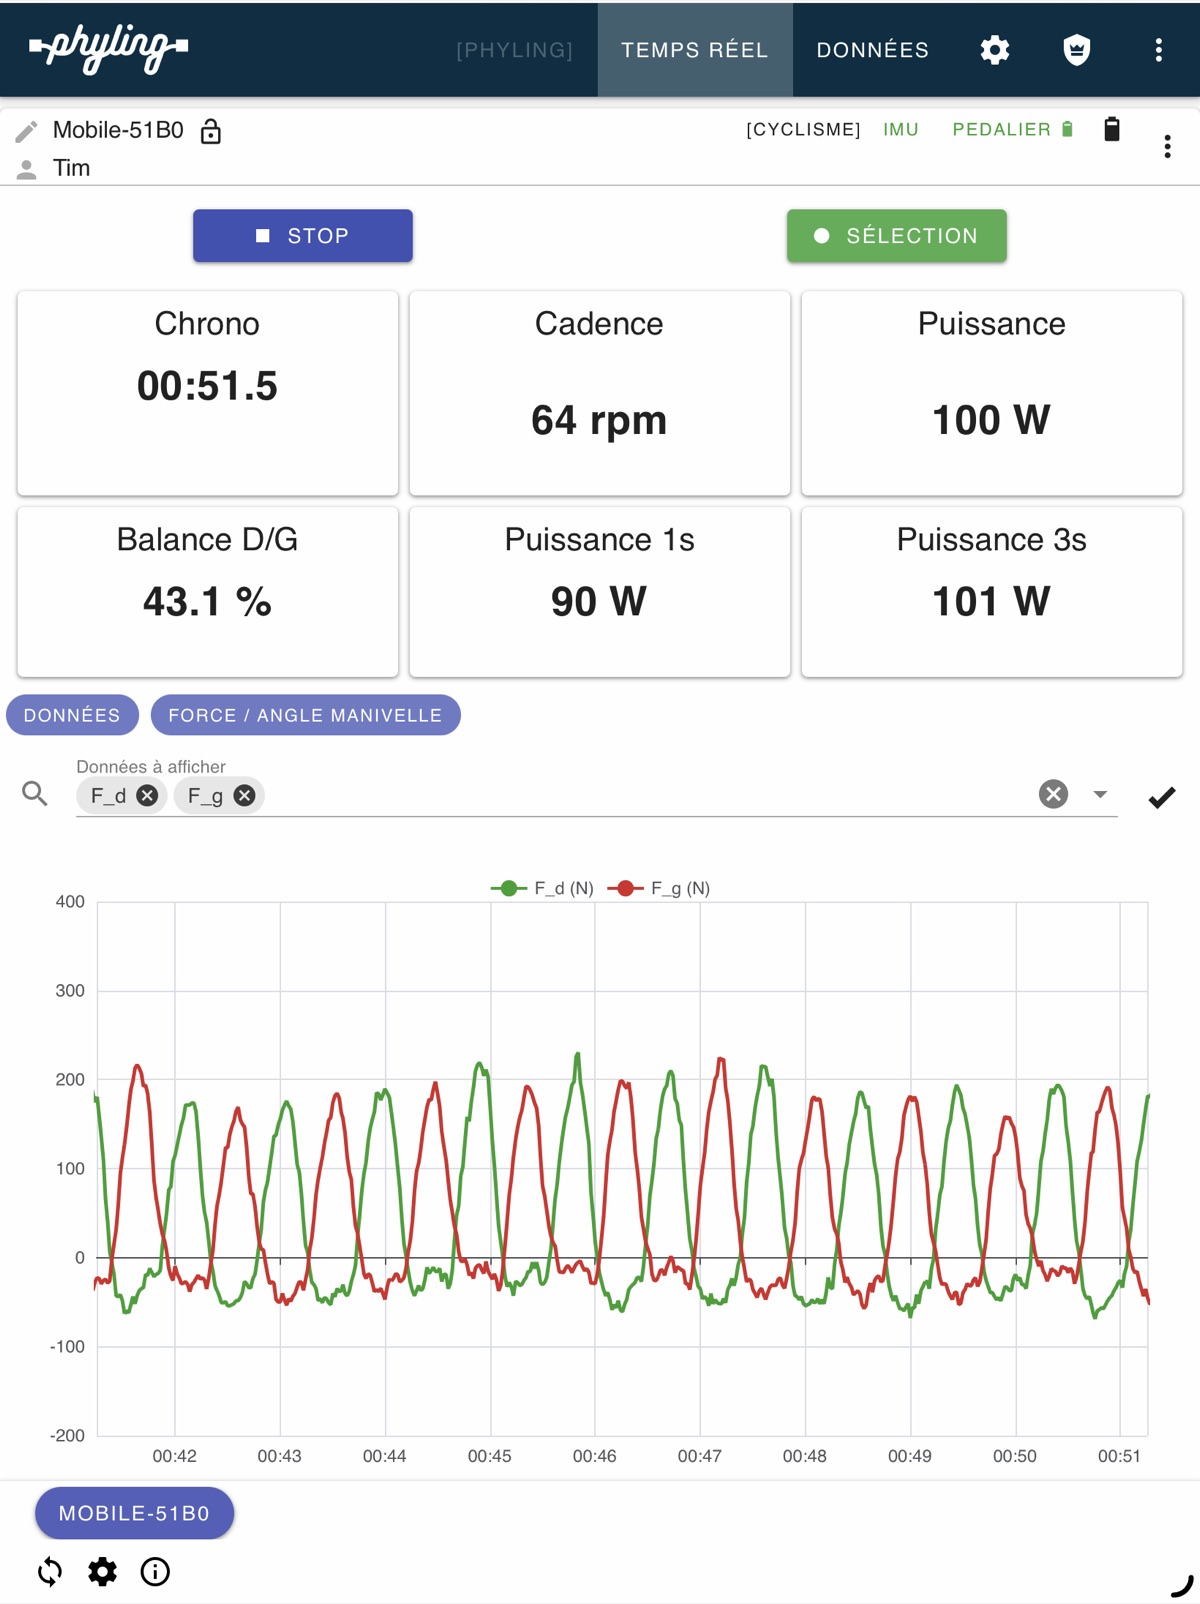
Keep the app open
Outside a recording, the phone stays online only while the app is open in the foreground. During a recording, it stays online with the phone locked, under the same conditions as the recording (see Locked phone).
Send the recordings
When connected to the server, each recording is sent automatically at the end, with the group, athletes and exercise chosen in the End of the record window. It then appears in the Data tab of the web app.
In the Records tab, the icon of each record shows its state:
- On the phone only: recorded without a connection. Tap its icon then Send, or select several records to send them together.
- Waiting to be sent: it will go as soon as the app is open, with your account signed in and a network.
- Online: it is on the server, and you can open it in the web app.
Send does not need the Server connection: being signed in to your account, with the app open, is enough. The phone then does not show in the Real time tab of the web app.
Developers
To get a phone's real-time stream from your own code, see API - Phone.